Showing posts with label kids crafts. Show all posts

Tuesday, July 7, 2015

Bridging part 2

For our Bridging we want to do something special and remarkable each year. We decided on mini piñatas filled with confetti and glitter with the patch on the inside. 
WARNING THIS TAKES A LOT OF TIME!!
Do not try to do this project quickly because it needs time to dry and if you do fringe that is another painstaking process. 

Items needed: 
Card stock
scissors
glue
crepe paper
confetti
glitter
string
hot glue gun 

First you need a templet: Which I found here 
Print the templet out on card stock to save a step other wise you need to transfer your templet to card stock. 

 
 In the small square center which will be the bottom you need cut out a square so you can have a "door" that pulls open. I put the crepe paper but only glue at the exterior edge because I wanted the center to not be crazy strong.
Now for the fringe paper. I cut a ton of paper and then fringe the entire thing so when I glued it on it would look nice. 


Then I made my bottom. You need to use the hot glue or super glue or something so the cord stays attached to the bottom when you pull the "door". Otherwise this will not work and you will have kids staring at the piñata trying to figure out what happened. 

 I glued the paper on in a pattern using the girl scout green and white. I also somehow managed to line it all up too.
 Glue it on all of the sides and set aside to dry. Do not try to use a heat gun to speed the process up this resulted in almost burning my house because apparently this is extremely flammable.


 Now we trim the sides so the fringe is not in the way of glueing the sides down.
 I very carefully snaked the string through the paper on the bottom and closed it up
 Then you get the two sides glued together and let it dry.
 Now is the best part fill with glitter and confetti. We even put our bridge in so it would fall on the girls. At least in theory it would.


 I learned how to make this better for next time and am glad the girls had fun. I am not 100 % sure I want to do it each bridging ceremony big they take so long to make and clean up but the girls loved it.


Tuesday, June 16, 2015

Lowes Build and Grow

I am some what handy, my dad made sure I knew what the different screw drives are.  I want to kids to  know how to take care of things for when they move out.  I have started looking for projects and things to do that allows me to teach the kids basic skills. Lowes offers build and grow clinic, the best part is it's all free!!!! So the kids got aprons and little hammers with googles.  Our first project was Iron man's Jet and they turned out amazing. We did not take pictures as we made the project because it was 3 kids to the 2 of us and one of them were in constant need of help. Maybe one day as they feel more comfortable  and we can take pictures from the beginning. But for now I will just tell you how much fun it was and the after picture. It is also a solid project and simple enough for the kids to figure out the only thing was hammering was difficult for them but once they get use to it I think it will be a breeze.


Saturday, May 30, 2015

Marble Maze!!!!

So we have a pack we are starting up this fall. I have been on the hunt for inexpensive ideas for our recruitment events that are still fun and captivating. I was reading a book on Stem learning and decided this was the right direction. We spent less than $5 in supplies. 

You will need a small thick chunk of wood
nails
paint
rubber bands 
a marble
We used a scrap piece of wood and not realizing it the wood was bowed which honestly just adds to it. 
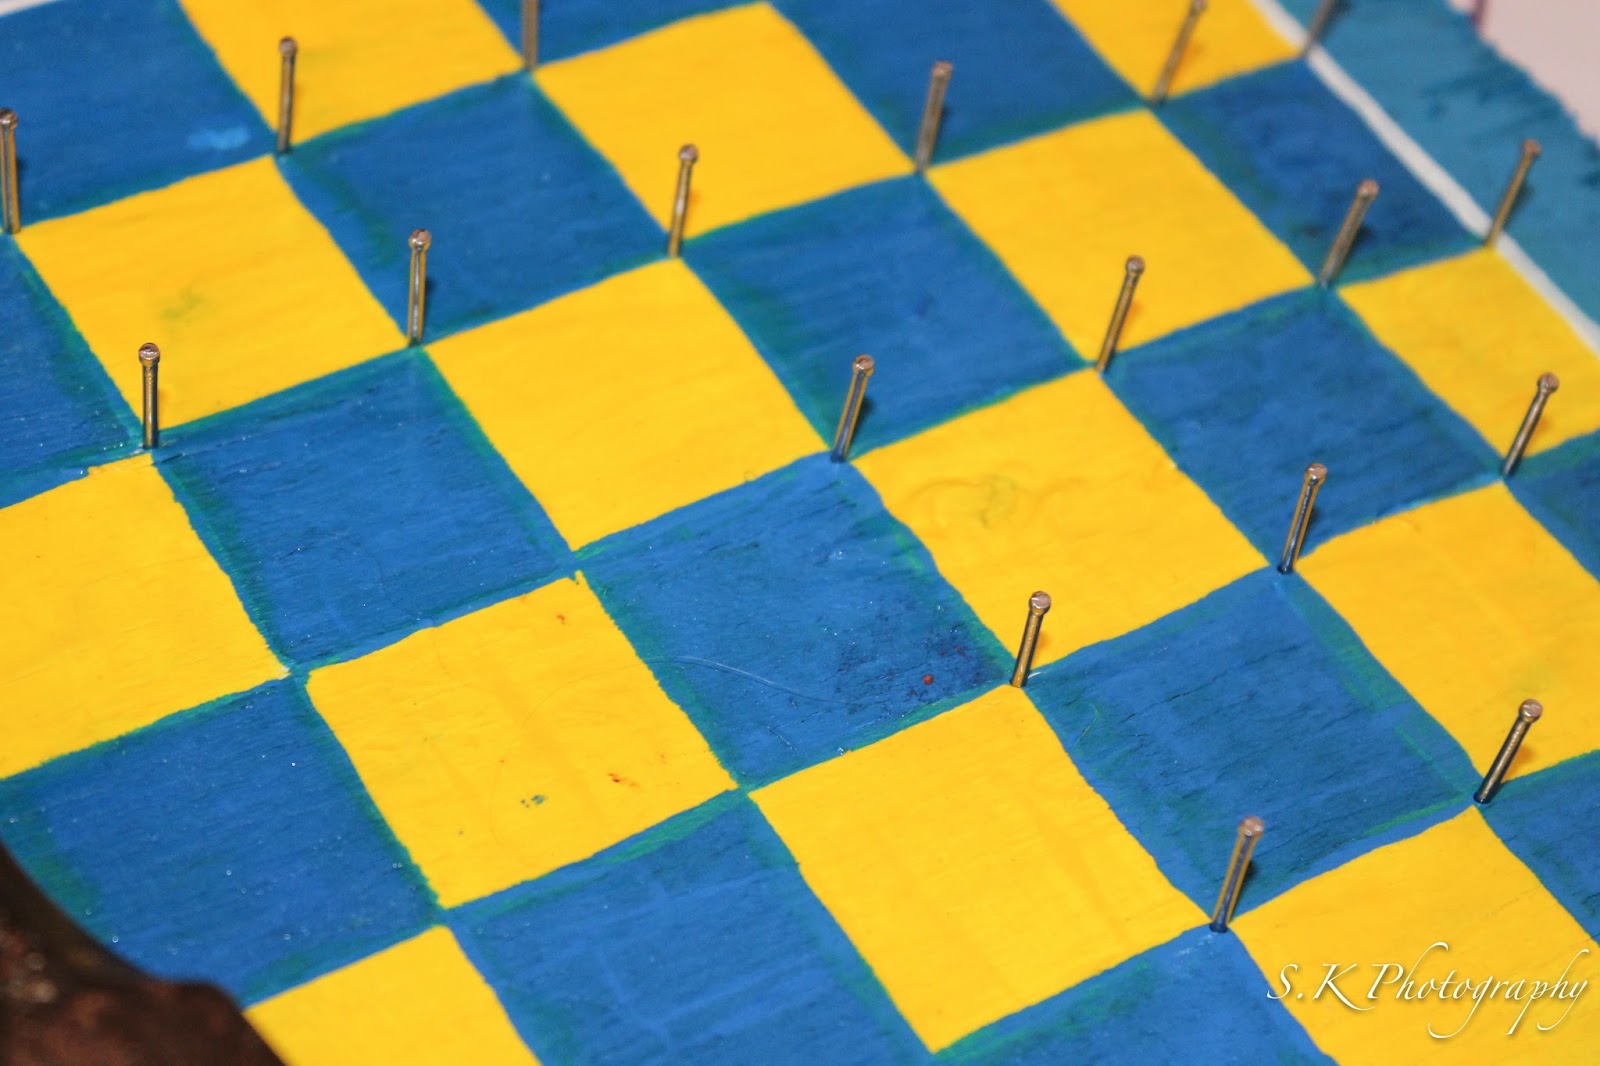
The longest I took was measuring out the boarder and marking my squares. 


Then I started painting my squares


The center is all done and drying right now.


Starting my boarders.


Then I painted the trim and back.

I painted a white trim to help break it up a tad.


 I decided I wanted a sealer to help protect the board in the upcoming years. This is not required but will help protect the tracks.


 Each corner needs to be nailed so you can change the tracks as often as you want.


Then add the rubber bands. Feel free to make it as easy or as difficult as you would like. Gill-G quickly attached himself to this game and has us feeling like we should make more for home. Check out the kids blogs about making each their own.

Sunday, May 24, 2015

A lesson in paper air planes

I can not take full credit for the air plane launcher. I saw a picture on pintrest and thought it would be so much fun to do with our Cub Scout Pack. But I am not good at keeping things simple and went all out, it is a normal thing around here. After making the launcher and realizing I am not good at making paper airplanes I ended up looking for patterns and decided this would be an amazing lesson for our classroom. So we looked up aerodynamics of paper airplanes. Who knew there was such a science to it all.  This turned into hours of fun. We did not color our airplanes because we were way to busy testing our planes to see if they would fly.

Let us start with the launcher
First you need a piece of scrap wood. (We used a small piece of pallet wood because I am obsessed with pallet projects.) 2 screws and a rubber band and tape. I choose to paint ours so I needed paint.
Just screw the screws in evenly in a straight line. 

We used screws because the nail did not want to go in the pallet.
If you do that you are going to want to tape it really well. 

I painted it blue since this was for Cubscouts. 

Then I painted a runway. 

After our Launcher was completed we took a giant cardboard and cut out openings. But we decided we want to redo it using wood so it really last. (I will post pictures after we make it.)


Standing the cardboard up was tricky but it was worth it in the end. I did not take pictures of our folding because I was folding. 

 This turned into an all day project. Our neighbors even joined in on the fun. 


Saturday, May 23, 2015

Lessons in chalk


 Sitting around the table doing lessons get boring after awhile. With my ADHD and Hulk Man's never ending energy we need to come up with new ways to learn. Besides who does not like playing with chalk? Depending on the day will really determine what we do in chalk, some lessons just does not work outside. 
I think our favorite lesson was trying to draw the solar system and then realizing we needed more space. Next time we will search for a massive parking lot to try that. After that first solar system project I realized how excited the kids were to do their work with chalk. At our next trip to Hulk Man's speech group Yasser, Gill-G, and I practiced our writing.
                                                                   
Gill-G was actually thrilled to trace this way, not that school work has ever been a struggle with him. Some days he fights with us because he does not want to go to sleep because he is doing school work. Yasser is the really stubborn one and will fight. But for 40 mins she happily sat sounding out words and writing in chalk.  
Honestly the hippy in me was screaming for joy because this was a never ending supply for writing. The next rain storm or the next spraying of water gives us new writing space. It is a win win either way we look at it.