Showing posts with label fun. Show all posts

Saturday, September 19, 2015

Bridging part 3: Powder Puff Derby!!!

I just realized I missed the post about finishing up our Girl Scout year. Sorry :(

To finish up the year girls got the honors of making their own cars and parents as well as other family was welcomed to join in on the races.


We started with a check in and weighed all the cars. This year we were not strict on the rule but next year we will be following the Cub scout Derby rules. 


While I ran check in Justin set up the tracks. 


The girls were so thrilled that after the race the girls did not want to stop. 


Everyone was excited to show off the cars and want to do it again. 


Brook won and there was no competing against her car this year. Maybe next year we will make some adjustments to our car. 

We finished the year with a bang! 

Tuesday, July 7, 2015

Bridging part 2

For our Bridging we want to do something special and remarkable each year. We decided on mini piñatas filled with confetti and glitter with the patch on the inside. 
WARNING THIS TAKES A LOT OF TIME!!
Do not try to do this project quickly because it needs time to dry and if you do fringe that is another painstaking process. 

Items needed: 
Card stock
scissors
glue
crepe paper
confetti
glitter
string
hot glue gun 

First you need a templet: Which I found here 
Print the templet out on card stock to save a step other wise you need to transfer your templet to card stock. 

 
 In the small square center which will be the bottom you need cut out a square so you can have a "door" that pulls open. I put the crepe paper but only glue at the exterior edge because I wanted the center to not be crazy strong.
Now for the fringe paper. I cut a ton of paper and then fringe the entire thing so when I glued it on it would look nice. 


Then I made my bottom. You need to use the hot glue or super glue or something so the cord stays attached to the bottom when you pull the "door". Otherwise this will not work and you will have kids staring at the piñata trying to figure out what happened. 

 I glued the paper on in a pattern using the girl scout green and white. I also somehow managed to line it all up too.
 Glue it on all of the sides and set aside to dry. Do not try to use a heat gun to speed the process up this resulted in almost burning my house because apparently this is extremely flammable.


 Now we trim the sides so the fringe is not in the way of glueing the sides down.
 I very carefully snaked the string through the paper on the bottom and closed it up
 Then you get the two sides glued together and let it dry.
 Now is the best part fill with glitter and confetti. We even put our bridge in so it would fall on the girls. At least in theory it would.


 I learned how to make this better for next time and am glad the girls had fun. I am not 100 % sure I want to do it each bridging ceremony big they take so long to make and clean up but the girls loved it.


Saturday, May 30, 2015

Marble Maze!!!!

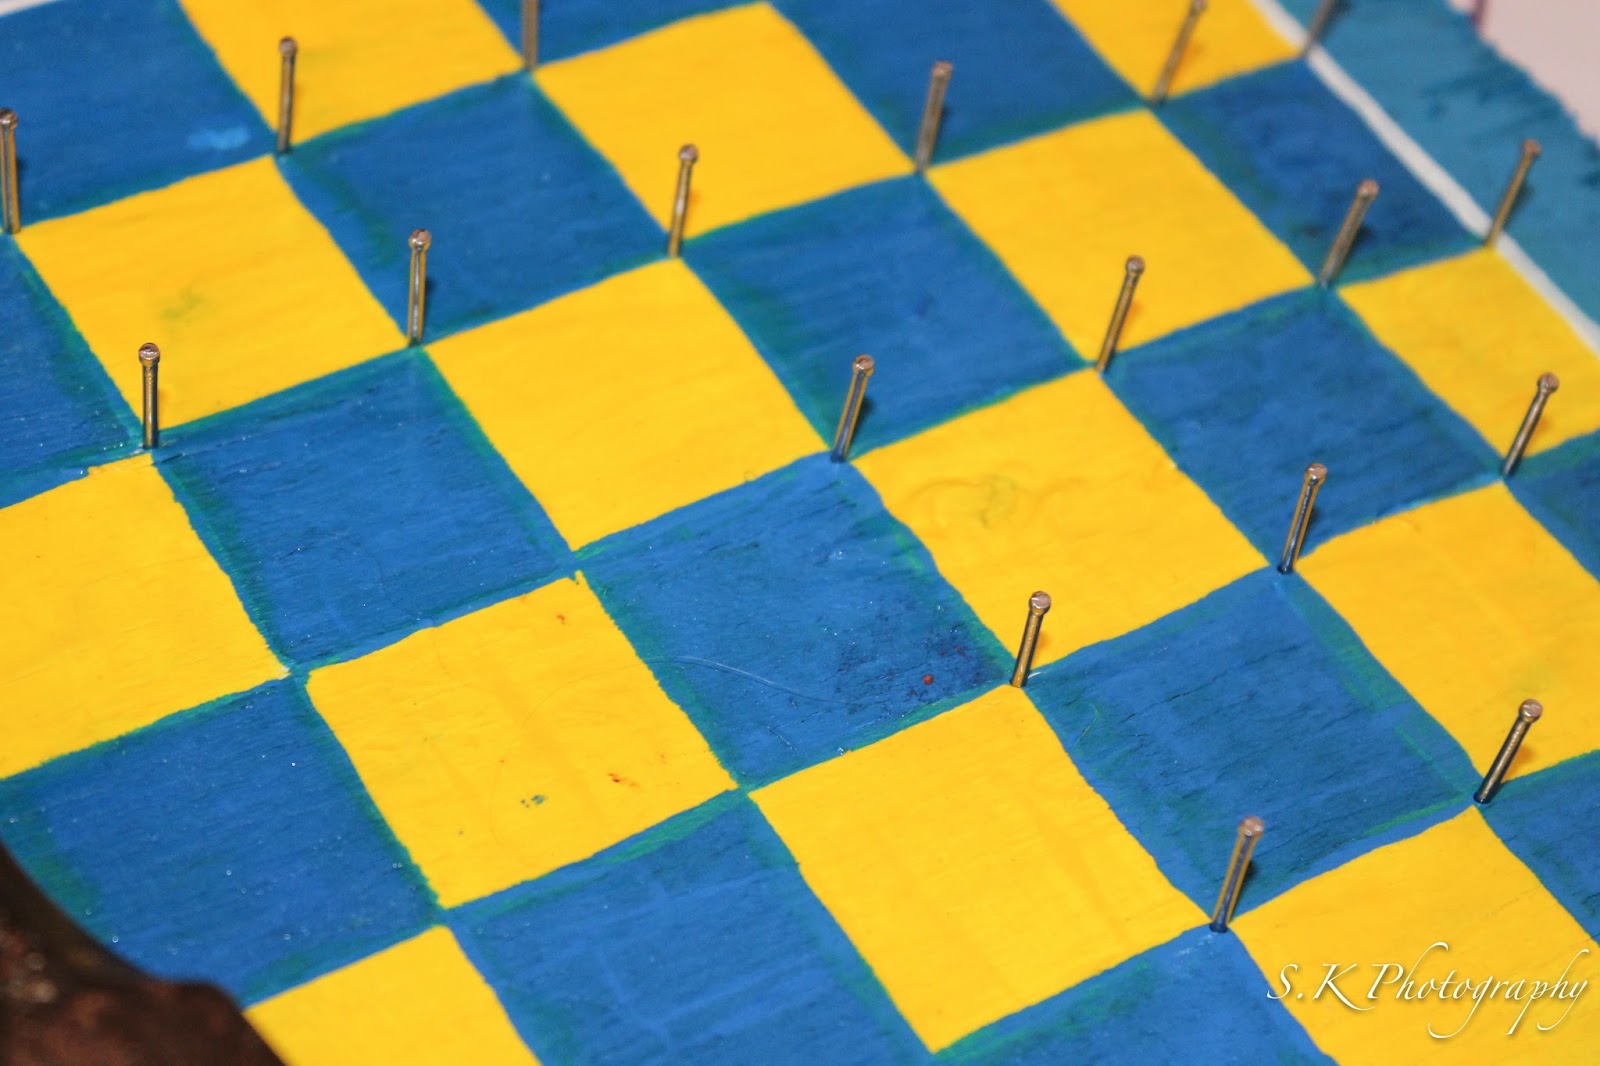
So we have a pack we are starting up this fall. I have been on the hunt for inexpensive ideas for our recruitment events that are still fun and captivating. I was reading a book on Stem learning and decided this was the right direction. We spent less than $5 in supplies. 

You will need a small thick chunk of wood
nails
paint
rubber bands 
a marble
We used a scrap piece of wood and not realizing it the wood was bowed which honestly just adds to it. 
The longest I took was measuring out the boarder and marking my squares. 


Then I started painting my squares


The center is all done and drying right now.


Starting my boarders.


Then I painted the trim and back.

I painted a white trim to help break it up a tad.


 I decided I wanted a sealer to help protect the board in the upcoming years. This is not required but will help protect the tracks.


 Each corner needs to be nailed so you can change the tracks as often as you want.


Then add the rubber bands. Feel free to make it as easy or as difficult as you would like. Gill-G quickly attached himself to this game and has us feeling like we should make more for home. Check out the kids blogs about making each their own.

Wednesday, July 9, 2014

Tie-dye with the kids

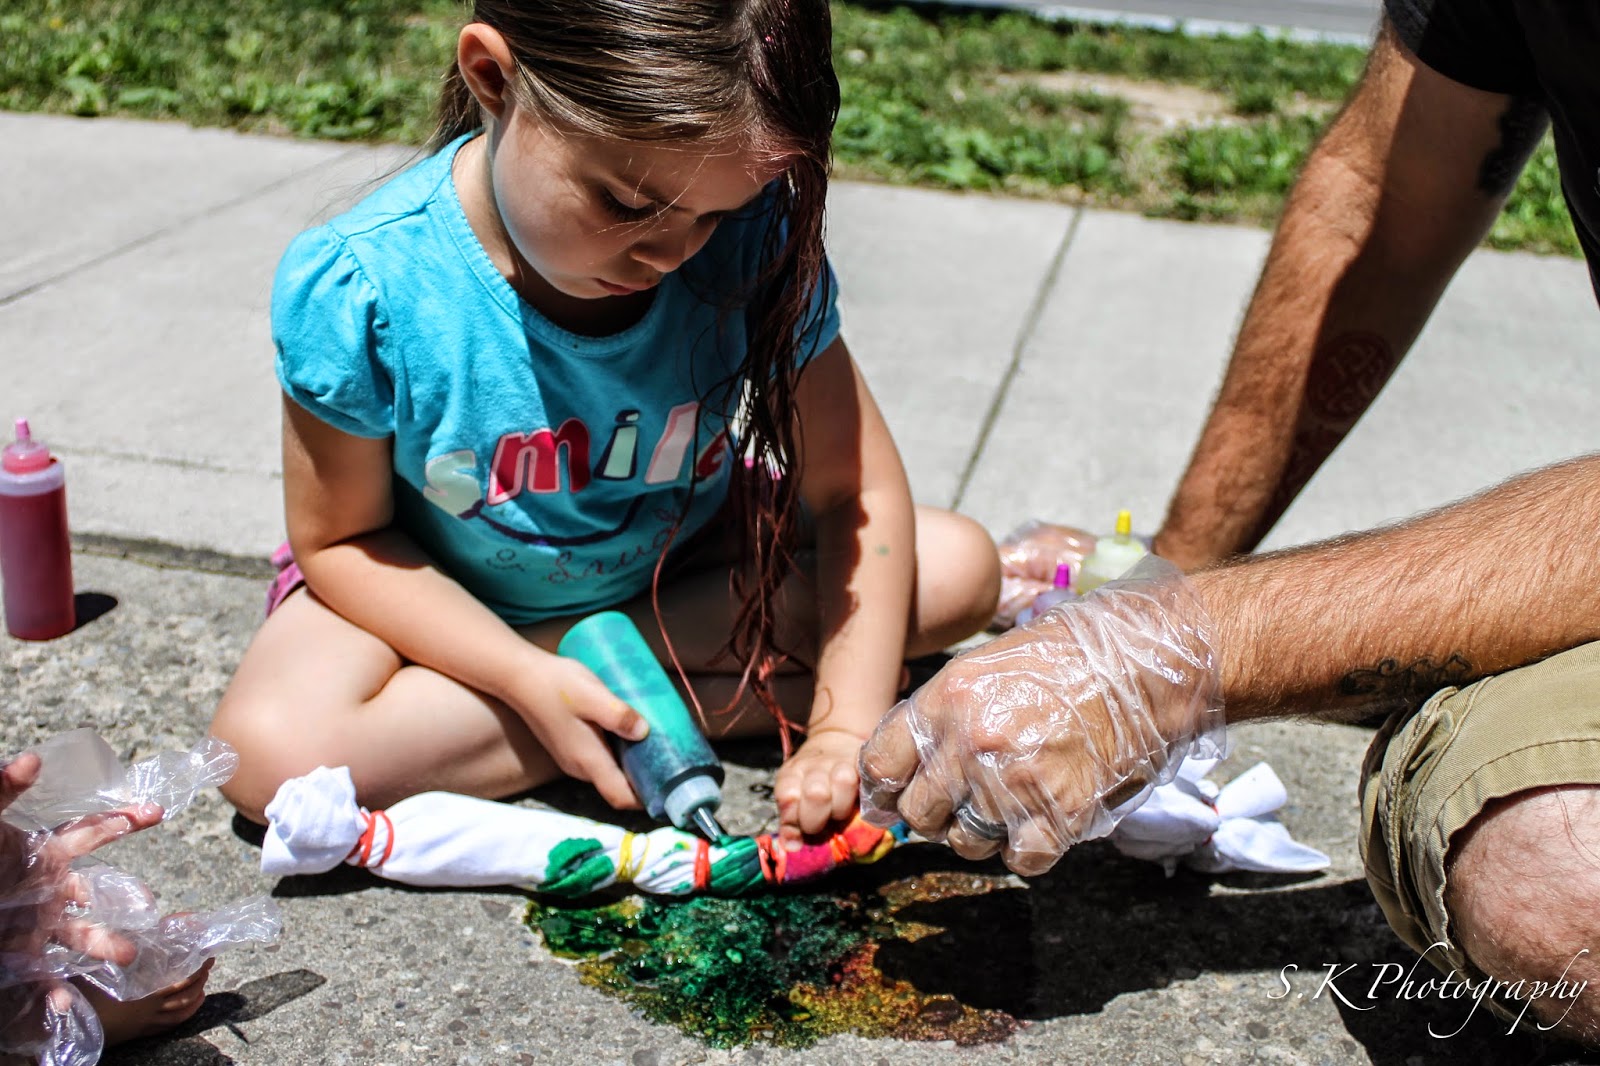
I have talked about doing tie-dyed projects with the kids but never did it. I was concern they were a little young. Man was I missing out and wrong. First the kids loved it. Sure they had a hard time with rubber bands but it was well worth the hassle.

You need :
Tulip One-Step 12 Color Tie-Dye Kit Super Big
white tee shirts or what you plan on coloring
water and a safe space just incase color falls on the floor
if you want extra rubber bands

 We looked up shirt designs on pintrest and then started.
 Yasser picked a stripe design
 Gill-G picked a swirl (mommy got the honors of doing all the rubber bands)
 All you have to do is add water and shake the containers then pour on.


 Yasser was trying to be super careful.

 Daddy got tired of waiting.


 Hulk man even made his own!!


 Gill-g was trying to only get it on the shirt in the tiny section.    

Yasser feeling comfortable and just went for the coloring.


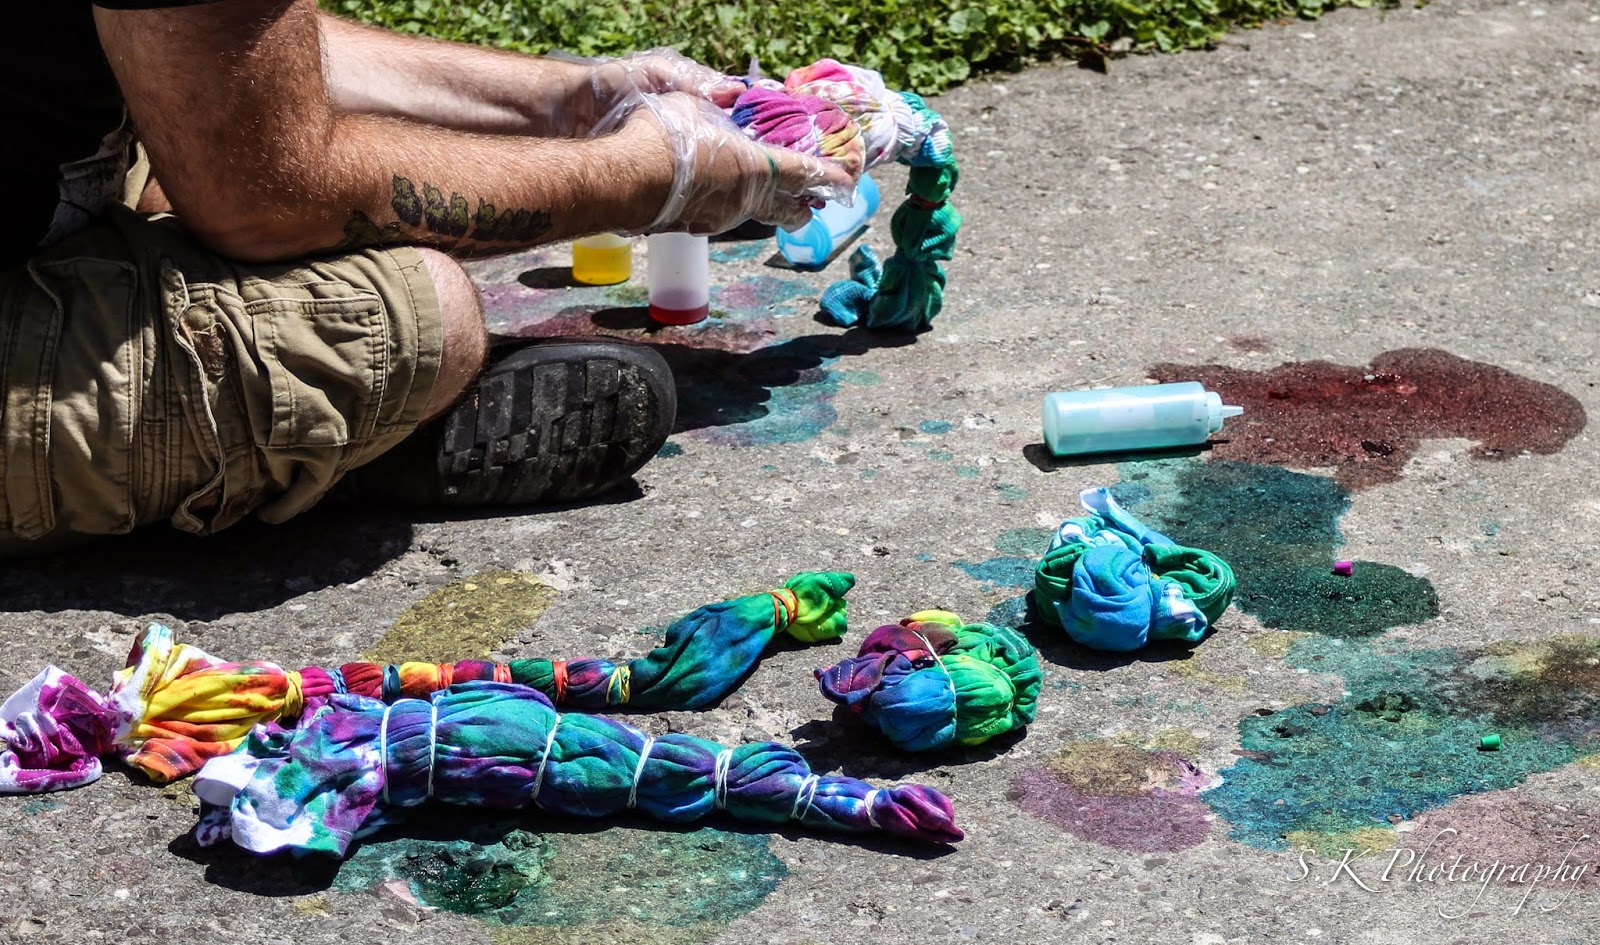
 The kids finally finished using up the colors they wanted and left to go play while Justin and I made our own stuff.

 We did the bulls eye pattern for Justin's.
Hulk playing in the dye run off trying to become a chameleon. (It will wash off, at some point.)
 Now discussing, I think, colors.

 And we are off.
 I convinced Justin  to do mine so I could take pictures, besides I did all of the rubber bands.


Hulk man "Earth" shirt.

 Justin's Bulls eye


 Yasser's stripe shirt.

Gill-G swirl shirt.

 My dress. I love what Justin did. The top was a stripe pattern and the bottom was swirlish.

The shirts need to dry. I let it dry for awhile then I unrolled it and let it dry some more. 
The more you let it dry before rinsing the more intense the color. 

 You need to rinse it until the water runs clean. You do not want extra dye to get in your washing machine. Skipping this step can and will result in color change with everything you put in the washing machine.


After the water runs clean, wash it and it is ready for wear. 
Now proudly wear it!!!
The kids had so much fun we decided we will be doing this again. If you save the containers you just have to buy the replacement colors.  If you want to tie in a school lesson, this lead to a color conversation with the kids and experimenting with mixing colors.